Espresso Panna Cotta
The French have Creme Brulée. The Italians have Panna Cotta. Creme Brulee is thickened with eggs. Panna cotta is thickened with gelatin. Both are creamy. Both are delicious. Today’s post is Italy’s answer to the French. And I think it is a great answer.
…
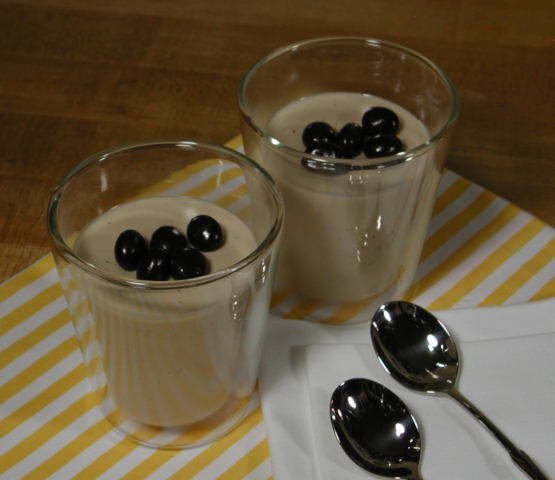
Panna Cotta can be made with lots of different dairy products – milk, cream, yogurt, buttermilk, sour cream, creme fraiche, pretty much anything you can think of. It is often flavored, always sweetened and always includes gelatin. My Espresso Panna Cotta is made with milk and cream, sweetened with sugar, flavored with espresso beans and set with gelatin. Classic.
A few words about Fear of Gelatin. If you were born after the ascendancy of JELL-O you have it. We all have it. In 1950 JELL-O began a heavy advertising campaign, and they really took America by storm. Housewives everywhere were looking for shortcuts, and Jell-O was a sure bet. The homemade fruit gelatins my mom grew up with all but disappeared. At about the same time menu items such as Tomato Aspic and gelées in general fell very much out of vogue. Use of gelatin decreased overall. For lots of us our main gelatin memory is that we drank it in hopes of growing long, strong beautiful nails. But when you make this Espresso Panna Cotta, you will conquer your fear. Really. My sister always gives me grief when I say a recipe is easy. But this one is.
…
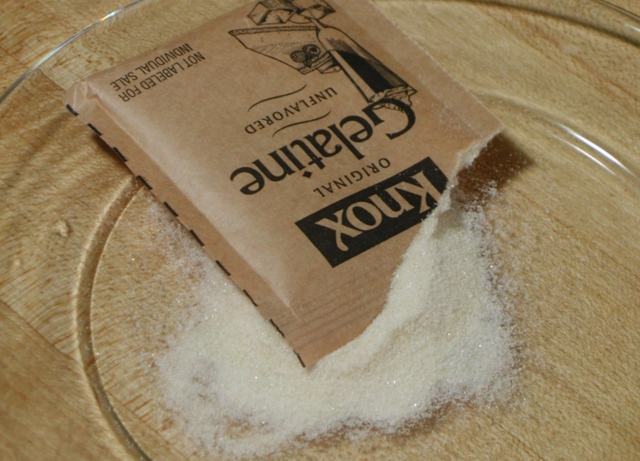
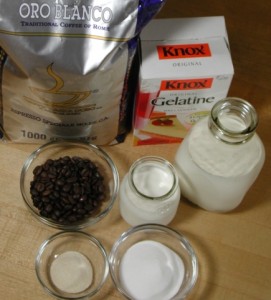
So, about gelatin. It is made from the collagen found in beef and pork. It is an animal product. Vegetarians out there, beware. For those following a kosher diet, kosher gelatin is available, but not all gelatins are created equal. While unflavored gelatin can be found sold in bulk, the product most supermarkets sell is KNOX Unflavored Gelatine, and it is supplied in boxes containing individual packets. Each packet contains 1/4 ounce of gelatin, an amount just shy of 2 1/2 teaspoons. If your recipe calls for anything other than a packet of gelatin, you must measure.
…
I have made many Espresso Panna Cotta recipes that call for instant espresso. They are really good, and they are pretty quick, but if you are looking for a depth of round coffee flavor, go for the beans. And the beans you use are important. Use a good full flavored fruity espresso bean. I used Oro Blanco Tazzo D’Oro, from Guidi Marcello in Santa Monica, California or Amazon.com.
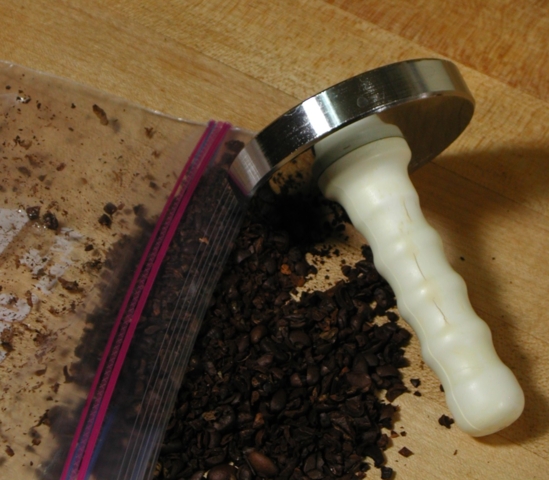
To infuse the cream with the coffee flavor you must first coarsely crush the beans. I said crush, not grind. Use a hammer, a meat mallet, a skillet or what ever grabs your fancy. Put the beans in a plastic bag (that way you can see how much you have crushed them) and get to it.
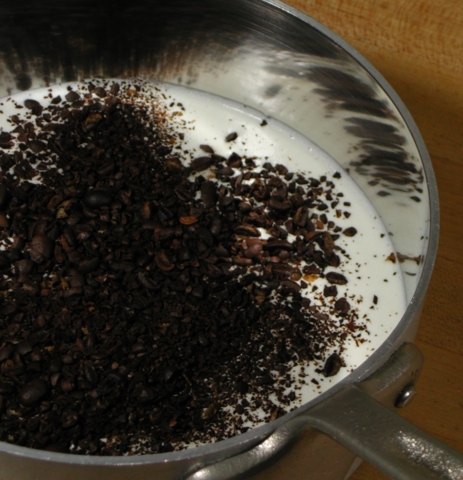
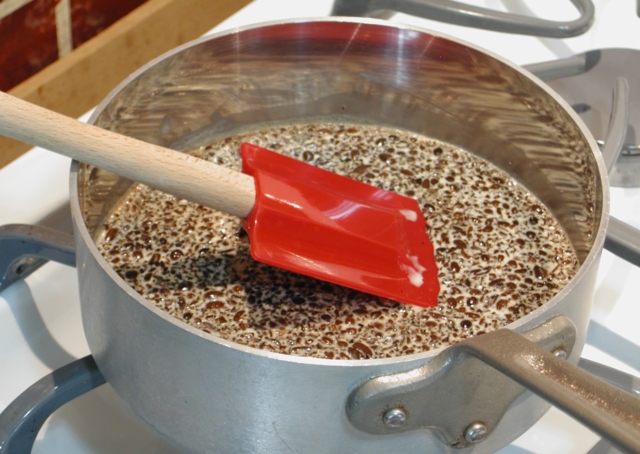
Next, place the cream, beans and sugar into a saucepan, stir to dissolve the sugar and heat until small bubbles form around the edge of the pan. This technique is called scalding. Please note I did not say “Boil the cream.” If you go beyond the scald and arrive at the boil your next stop is the dreaded boil over and its attendant mess. You will wind up with cream all over your stovetop. Some of it will scorch and stick to your stovetop, and you will have quite a clean up job on your hands. Do keep a good eye on your saucepan. You have been warned. Once you have scalded the cream mixture, remove the pan from the heat, cover and let the mixture steep for 20 minutes.
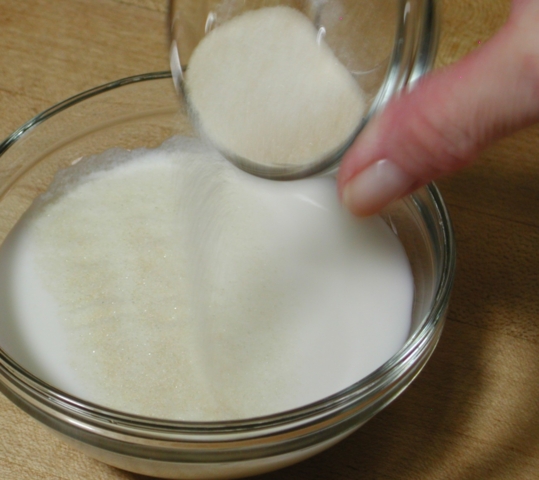
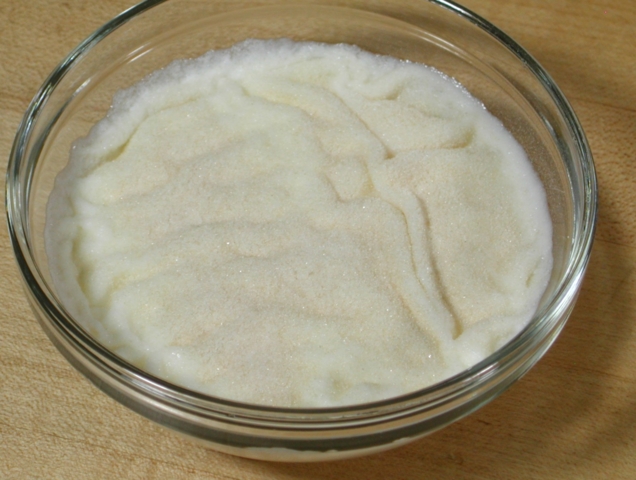
After 15 minutes pour the milk into a small bowl and sprinkle the gelatin over it to soften, also called blooming. Do not stir.
The softened gelatin will look like a relief map of a very blond landscape, all rolling hills. This is what you want. Things are progressing well.
After the gelatin has softened for 5 minutes (we are at 20 minutes total now) pour it into the cream and stir to combine and dissolve the gelatin. (If you are concerned about the gelatin not melting, heat the cream mixture briefly before you add the gelatin to insure the cream is hot enough.)
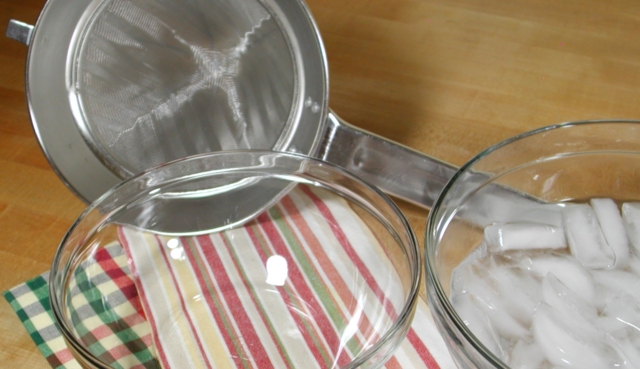
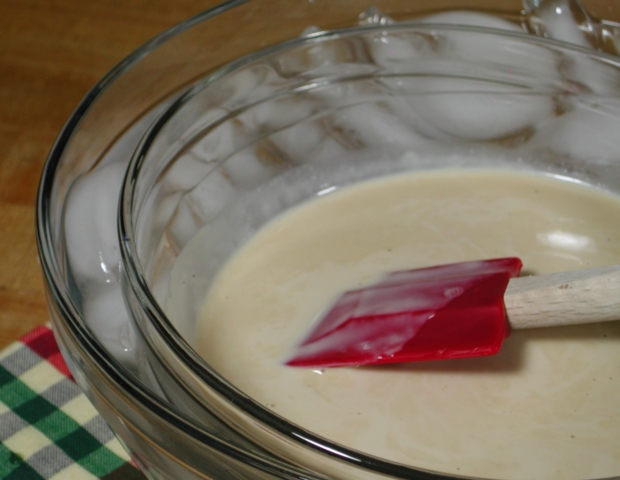
Prepare an ice bath. For this you need two bowls, one larger than the other. Fill the larger bowl half full with ice water.
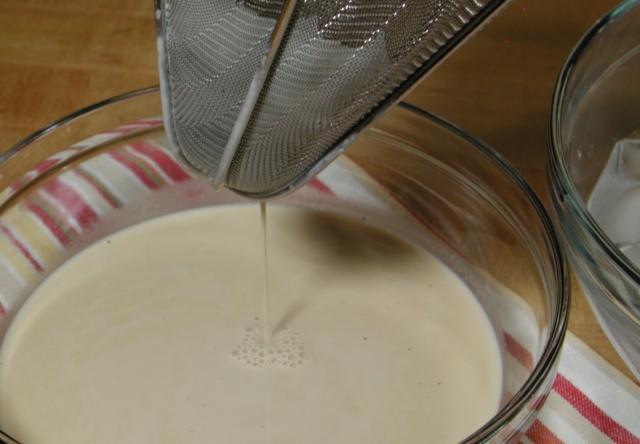
Strain the mixture into the smaller of the two bowls.
Set the bowl containing the panna cotta into the bowl containing the ice water and stir occasionally until it is cool, about 15 minutes, taking care that no ice water gets into the panna cotta. This will cool the panna cotta to allow for a smooth and uniform set.
…
Don’t discard the crushed coffee beans! They are an excellent high nitrogen mulch for your tomatoes. Waste not. Want not.
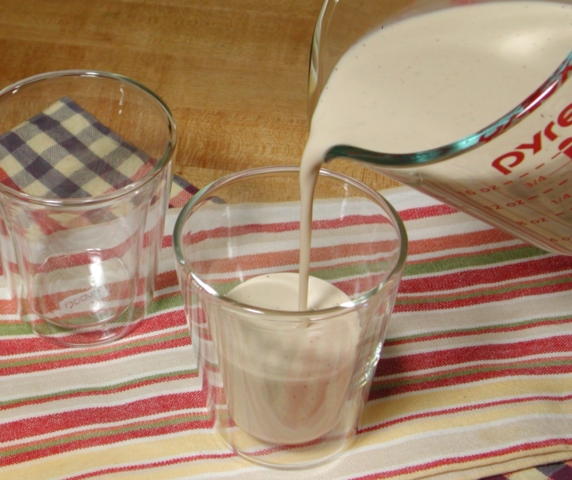
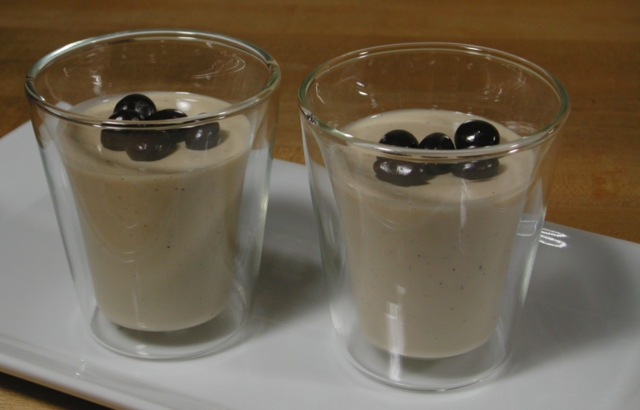
Once your panna cotta is cool, pour into serving containers and refrigerate until you are ready to serve. It will take several hours to set up. I suggest making it in the morning, or even the day before. This is such an ethereal dessert, and I love to see how my guests savor each bite. I can tell when people like dessert. Table conversation stops. That makes me smile. You will too.
Espresso Panna Cotta
makes 4 servings
1/3 cup espresso beans, coarsely crushed
3 tablespoons granulated sugar
1/2 cup whole milk
1 1/4 teaspoons gelatin
Combine cream, espresso beans and sugar in a saucepan. Stir until sugar is dissolved. Heat over medium heat until scalding. Remove pan from heat, stir and cover. Steep for 20 minutes.
After the cream mixture has steeped for 15 minutes pour milk into a small bowl and sprinkle gelatin over it. Allow gelatin to soften for 5 minutes.
After the gelatin has softened pour the milk and gelatin mixture into the cream mixture, stirring until smooth and gelatin is completely dissolved. Pour through a fine strainer set over a bowl. Place bowl in a water bath to cool, about 15 minutes, stirring occasionally.
Pour cream mixture into 4 serving glasses and cover carefully with plastic wrap. Refrigerate until completely chilled.
To serve, garnish with white or dark chocolate shavings or chocolate covered espresso beans.
Note: You can click on any picture for a larger image, and to see a slide show!
I have no affiliation with any product, manufacturer, or site mentioned in this article.

Saturday, July 31st 2010 at 9:37 am |
I love the step-by-step photos! They are so vivid and detailed! Is the Oro Blanco coffee good prepared hot as well?
Monday, August 2nd 2010 at 8:11 pm |
Hi, Thanks for the kind words. This was my first step-by-step. You’ll be seeing more. Any requests out there??? The Tazzo d’Oro Coffee is great brewed. The coffee has a surprisingly pleasant, full finish. It leaves your mouth with a full coffee aftertaste, with no sharpness whatsoever, a great finish. The flavor just blooms. Give it a try.